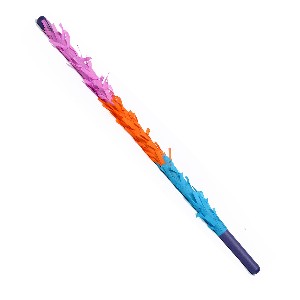
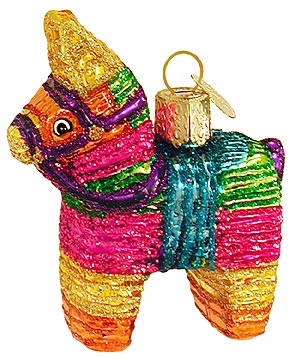
 Piñatas are a staple in Mexican festivals, and they’re a great idea for children’s parties, too. After all, which child can resist hitting a brightly colored object with a bat and then getting toys, candies, and other party favors afterwards? Here’s how to make a simple piñata that’ll get the kids hitting.
The Preparation Stage
For supplies, get yourself some flour, water, old newspapers, crepe or decorative paper, glue, string, and a balloon. For equipment, find a couple of bowls (preferably ones you don’t intend to use for food in the future), scissors, and a brush that’s of medium length and thickness.
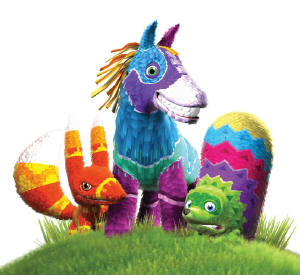
 Before doing anything, plan out how your piñata will look like. What shape will it be? Will you make it look like anything or anyone? That’s going to be an important consideration for the process you’ll use. For this set of instructions, it’s going to be a lot easier if you choose something simple and round.
The Execution Stage
 For your basic shape, inflate the balloon and close it up at one end. This will be the basic shape and will eventually become the container for the party favors and other contents.
Make a papier-mâché mixture out of the flour and water. After that, tear or cut the newspaper into small strips. Dip the newspaper strips and then attach them on the surface of the balloon to make a layer of papier-mâché, then let it dry. Leave a spot at the top for the hole. Repeat this for about three layers or until you have a sufficiently thick and solid shape. Just be sure not to make it too thick because that might make breaking the piñata difficult.
 Once the hardened papier-mâché shape has hardened, pop the balloon. You should now have a rounded container with a hole on top. From here, you can proceed to adding rectangular strips of the colored paper for the fringe.
Just make sure to apply two to three layers of paint first, so that you’ll have a fairly even surface to work with. You also have the option to add limbs and appendages to make the piñata look like something or someone in particular. For your finishing touch, don’t forget to add two or more holes for the string which you’ll use to hang the piñata and, of course, its kid-friendly contents.
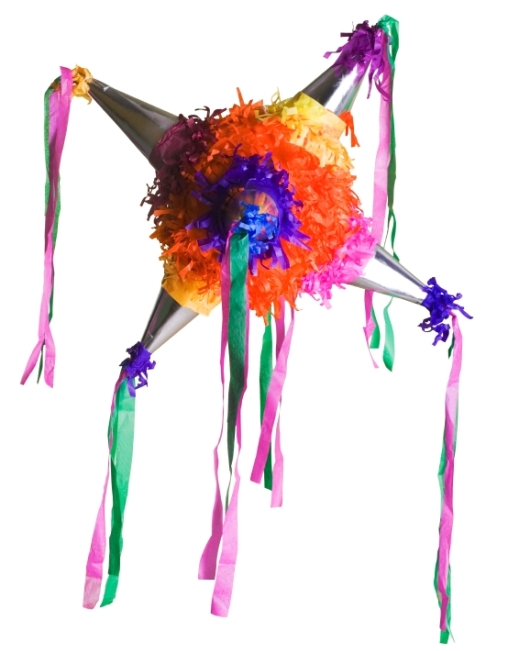
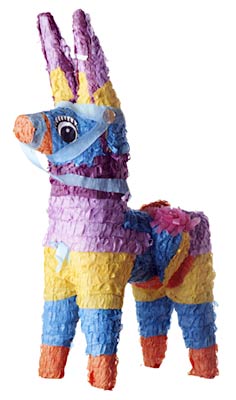
From the basic shape, you can move on and experiment with all sorts of forms and items. Just use a bit of your imagination, and you’ll be able to come up with your own DIY piñata that’s sure to be a big hit with the kids.